


WordPress manuell installieren: Komplette Anleitung auf einem VDS
WordPress ohne Control-Panel auf VDS installieren. Apache/Nginx, PHP, MySQL, Berechtigungen und Sicherheitsschritte.
Sie wollen WordPress auf Ihrem VDS ganz ohne Plesk/cPanel installieren? Diese Anleitung deckt LAMP/LEMP-Vorbereitung auf Ubuntu 22.04, WordPress-Dateien, MySQL-Datenbankerstellung und Sicherheit ab.
Voraussetzungen
- 2 vCPU + 2 GB RAM VDS (Einstieg)
- Ubuntu 22.04 / Debian 12
- Root-Zugriff (
sudo) - Domain-DNS-A-Record zeigt auf VDS-IP
1. System aktualisieren
sudo apt update && sudo apt upgrade -y2. LAMP-Stack installieren (Apache + MySQL + PHP)
Für LEMP (Nginx) siehe Nginx-Beitrag.
sudo apt install apache2 mysql-server -y

# PHP 8.3 + WordPress-Module
sudo apt install php8.3 php8.3-fpm php8.3-mysql php8.3-curl php8.3-gd \
    php8.3-mbstring php8.3-xml php8.3-zip php8.3-imagick libapache2-mod-php8.3 -y
sudo systemctl enable --now apache2 mysql3. MySQL absichern
sudo mysql_secure_installation- Root-Passwort setzen
- Anonymous users → Yes (löschen)
- Remote root login → Yes (sperren)
- Test database → Yes (löschen)
Detaillierte MySQL-Verwaltung: MariaDB/MySQL-Beitrag.
4. Datenbank für WordPress erstellen
sudo mysql -u root -pCREATE DATABASE wordpress_db CHARACTER SET utf8mb4 COLLATE utf8mb4_unicode_ci;
CREATE USER 'wp_user'@'localhost' IDENTIFIED BY 'STARKES_PASSWORT';
GRANT ALL PRIVILEGES ON wordpress_db.* TO 'wp_user'@'localhost';
FLUSH PRIVILEGES;
EXIT;5. WordPress herunterladen
cd /tmp
wget https://wordpress.org/latest.tar.gz
tar -xzf latest.tar.gz
sudo mv wordpress /var/www/ihre-site.com
Für Multi-Site eigene Ordner pro Site.
6. Berechtigungen
sudo chown -R www-data:www-data /var/www/ihre-site.com
sudo find /var/www/ihre-site.com -type d -exec chmod 755 {} \;
sudo find /var/www/ihre-site.com -type f -exec chmod 644 {} \;
sudo chmod -R 775 /var/www/ihre-site.com/wp-content
7. Apache-vhost konfigurieren
sudo nano /etc/apache2/sites-available/ihre-site.com.conf<VirtualHost *:80>
ServerName ihre-site.com
ServerAlias www.ihre-site.com
DocumentRoot /var/www/ihre-site.com
<Directory /var/www/ihre-site.com>
AllowOverride All
Require all granted
</Directory>
ErrorLog ${APACHE_LOG_DIR}/ihre-site.com_error.log
CustomLog ${APACHE_LOG_DIR}/ihre-site.com_access.log combined
</VirtualHost>sudo a2enmod rewrite
sudo a2ensite ihre-site.com.conf
sudo a2dissite 000-default.conf
sudo systemctl reload apache28. wp-config.php
cd /var/www/ihre-site.com
sudo cp wp-config-sample.php wp-config.php
sudo nano wp-config.phpdefine( 'DB_NAME', 'wordpress_db' );
define( 'DB_USER', 'wp_user' );
define( 'DB_PASSWORD', 'STARKES_PASSWORT' );
define( 'DB_HOST', 'localhost' );Authentication Keys: https://api.wordpress.org/secret-key/1.1/salt/ → kopieren und in wp-config.php einsetzen.
9. SSL installieren
Pflicht — siehe Let’s Encrypt-Beitrag:
sudo apt install certbot python3-certbot-apache -y
sudo certbot --apache -d ihre-site.com -d www.ihre-site.com
10. Im Browser fertigstellen
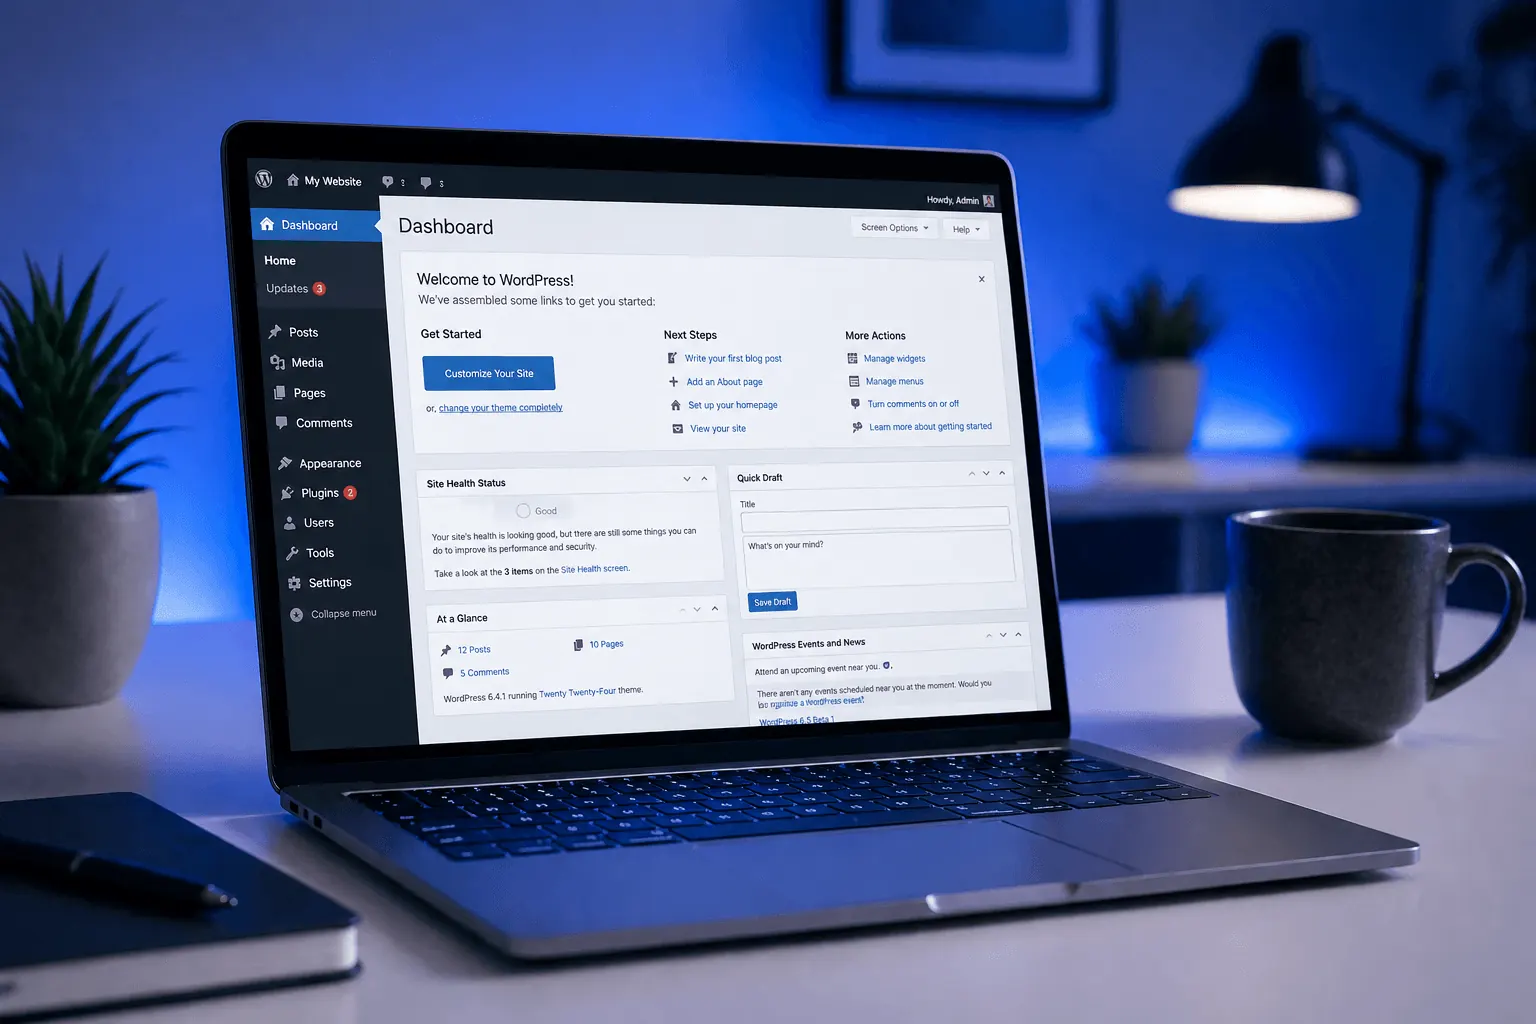
https://ihre-site.com öffnen:
- Sprache → Continue
- Site Title, admin Username, Passwort, Email → Install WordPress
In 5 Sekunden bereit.
Sicherheit nach Installation
- Nicht “admin” als Username (Default-Bruteforce-Ziel)
- wp-admin per Firewall einschränken — nur eigene IP (UFW-Beitrag)
- XML-RPC abschalten — WP wird sonst DDoS-Vehikel
- 2FA-Plugin: Wordfence Login Security
- Auto-Updates:
wp-config.php→define('WP_AUTO_UPDATE_CORE', 'minor'); - Cron-Backups: ohne Plesk eigenes Cron (Cron-Beitrag)
Performance
- OPcache aktivieren:
php.ini→opcache.enable=1 - Object Cache: Redis installieren
- Cache-Plugin: WP Rocket / LiteSpeed Cache
- CDN: Cloudflare-Beitrag
Mehr Performance: WordPress-Hosting-Beitrag.
Häufige Fehler
- “Error establishing database connection”: falsche DB-Daten oder MySQL aus
- 404 (Permalinks):
mod_rewritenicht aktiv →sudo a2enmod rewrite - White Screen of Death: PHP-Fehler →
tail -f /var/log/apache2/error.log - “Allowed memory size exhausted”:
wp-config.php→define('WP_MEMORY_LIMIT', '256M'); - Bild-Upload fehlgeschlagen:
wp-content/uploads-Berechtigungen falsch
Fazit
Manuelle Installation = 20 Minuten Arbeit, aber volle Kontrolle. Plesk braucht Extra-Lizenz, manuell ist kostenlos. Produktion-WordPress mit manuell + Nginx-Proxy + Let’s Encrypt + Cloudflare = schnellster Stack.
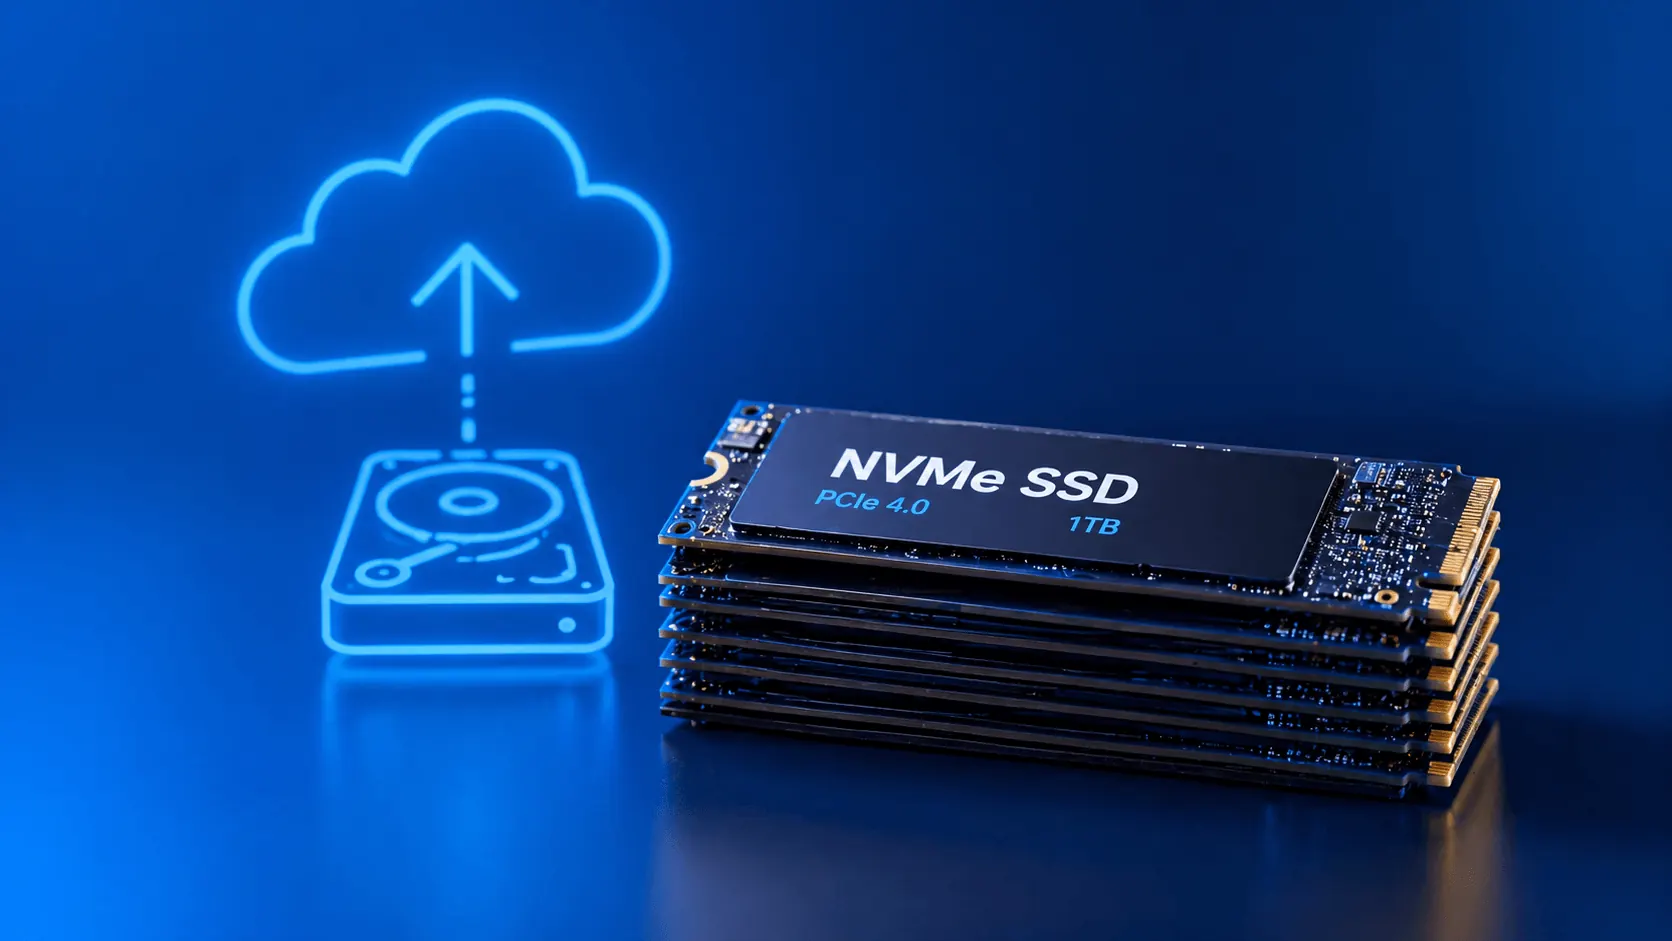
KavesNET VDS-Pakete sind mit NVMe-SSD für WordPress optimiert.
Verwandt: WordPress-Hosting-Leitfaden · MySQL/MariaDB-Verwaltung
Ähnliche Beiträge
Das könnte Sie auch interessieren.
Die 3-2-1-Backup-Regel: So verlieren Sie Server-Daten nie wieder
Die 3-2-1-Backup-Regel ist der Goldstandard für Server-Backup-Strategien. Wir erläutern Regel, Automation und KavesNETs Backup-Infrastruktur.
Weiterlesen
Site von Plesk zu Plesk migrieren: Migrator-Anleitung
Sites, Mail, DB und DNS in einem Schritt mit Plesk Migrator umziehen. Setup, Testmigration und Cutover.
Weiterlesen
FileZilla: Dateimigration zwischen zwei VDS
Site vom alten zum neuen VDS migrieren: FileZilla über FTP/SFTP, Geschwindigkeitstipps, Berechtigungen und Fehlerbehandlung.
Weiterlesen